Visual Materials
Big Creek PH #2

You might also be interested in

Big Creek PH #2
Visual Materials
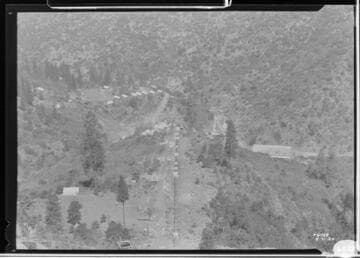
Big Creek PH #2 - [View looking down to Powerhouse 2.]
photCL SCE 02 - 05401
Big Creek PH #2
Visual Materials
Big Creek PH #2 - Looking down pipeline from below Camp 5
photCL SCE 02 - 06099
Big Creek PH #2
Visual Materials
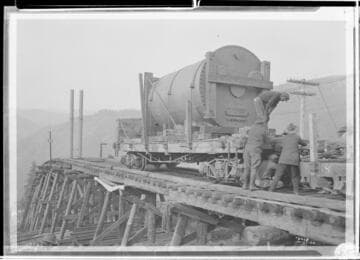
Big Creek PH #2 - Transformer on flatcar ready to start down incline
photCL SCE 02 - 06468

Big Creek PH #2
Visual Materials
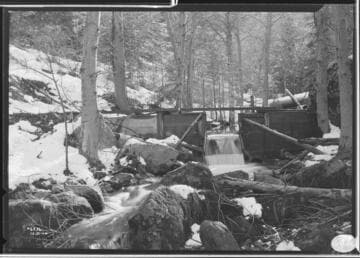
Big Creek PH #2 - Balsam Creek weir in the snow looking downstream
photCL SCE 02 - 06535

Big Creek PH #2
Visual Materials
Big Creek PH #2 - looking up ditch from section 74.
photCL SCE 02 - 06041
Big Creek PH #2
Visual Materials
Big Creek PH #2 - Balsam Creek weir in the snow looking upstream at spilling wier.
photCL SCE 02 - 06536